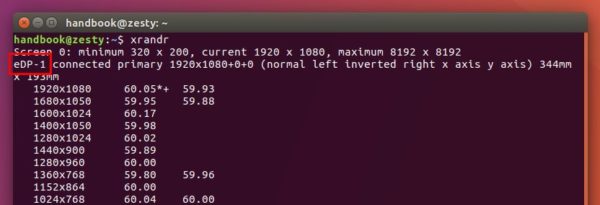
Open terminal via Ctrl+Alt+T or by searching for “Terminal” from dash. When it opens, run command:
xrandr
It outputs current screen resolution as well as all available solutions. ALL I need here is the display device name, in my case, it’s eDP-1.
2. Run command to calculate VESA CVT mode lines by given resolution:
cvt 1600 900
Replace 1600 900 (1600X900 in my case) in the command to your desired screen resolution.

3. Copy the Modeline (words with red underline, see previous picture), and run command to add new mode:
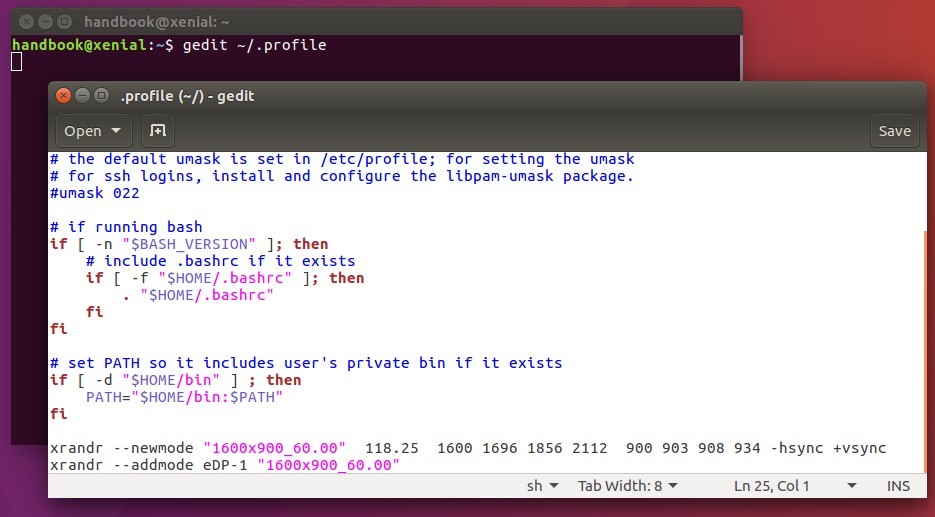
sudo xrandr --newmode "1600x900_60.00" 118.25 1600 1696 1856 2112 900 903 908 934 -hsync +vsync
UPDATE: For Ubuntu 17.10 Wayland, run xhost si:localuser:root command first in the terminal window to avoid sudo failure “No protocol specified Can’t open display 0:”
NOTE the command section after --newmode are COPIED from previous step output.

4. Now add the new created mode for your display device:
sudo xrandr --addmode eDP-1 "1600x900_60.00"
Replace eDP-1 (see step1) and "1600x900_60.00" (Step 2 or 3) in the command.

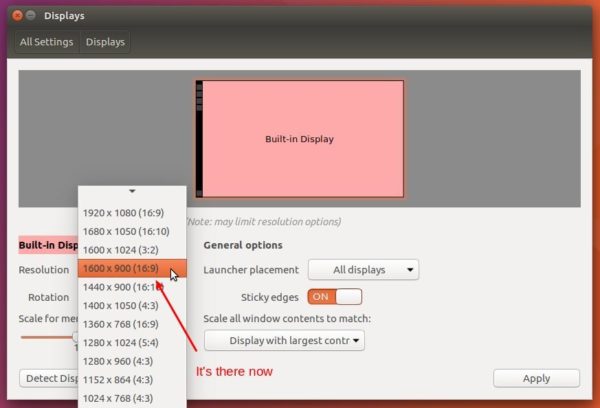
Finally Apply the new resolution in the Display settings:
IMPORTANT: To make Ubuntu remember the new created screen resolution at next start, you have to edit the .profile via command:
gedit ~/.profile
add the last 2 commands to the end, commands in step 3 and 4, and save the file.