Create Samsung Recovery Partition
Samsung Recovery Solution
Here Im gonna show you how to create Samsung Recovery Partition with simple steps.
In Samsung laptops this partition is created already when you buy the laptop. But sometimes people delete this unknowingly, while partitioning hard disk. So if you have deleted then you can recreate the OEM partition yourself very easily.
Requirement:
- Samsung Recovery Solution Admin Tool 4/5 (Download or Create from Samsung Laptop… Process is given below)
- Windows 7/8 Installation Disc.
Note: Data from your Hard Disk will be deleted. So Create a back up of your important files.
Creating Samsung Recovery Solution Admin Tool 5:
You need another Samsung Laptop which have already installed Samsung Recovery Solution 5(or 4) on it.
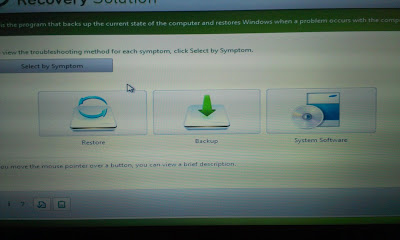
1. Now start the laptop and press F4 to go to Samsung Recovery Mode.

2. When Samsung Recovery Solution start click ctrl+alt+F10.
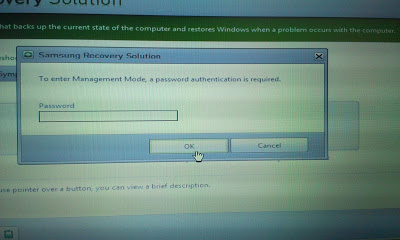
3. Now Samsung Recovery Solution ask you for password. Type secclx or secos as password.
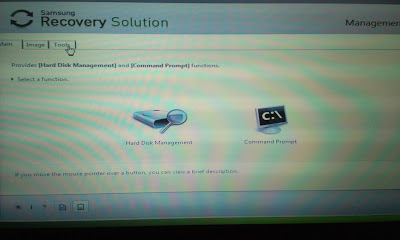
4. Insert your USB pen drive. Now go to Tools.
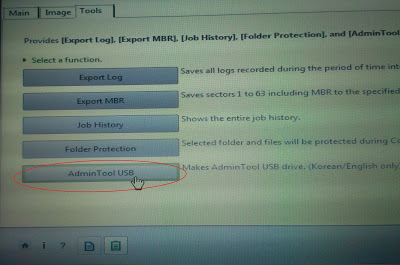
5. Now click on Admin Tool USB. And Click Yes. Within a few moment ‘Samsung Recovery Solution Admin Tool’ bootable Pen Drive will be created.
Or
You can download it as an iso image. And make a bootable USB with this image.
Creating Samsung Recovery Partition:
1. Make USB-HDD your first boot device.
2. Insert the Samsung Recovery Solution Admin Tool USB pendrive in laptop.
3. Boot from USB.
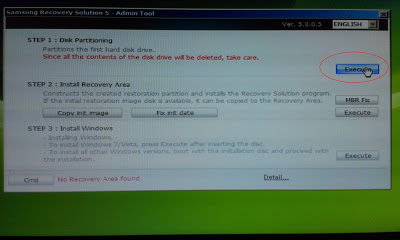
4. Now Samsung Recovery Solution will start.
5. Click on Execute on Step 1(Disk Partition)
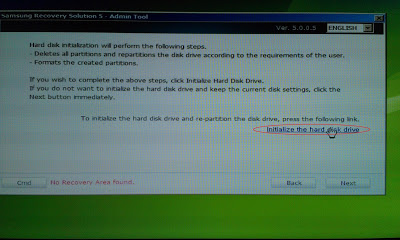
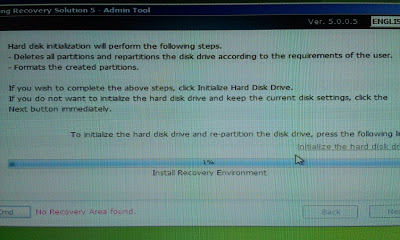
6. Click on Initialize The Hard Disk Drive.
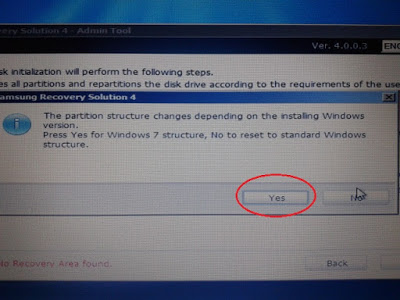
7. You’ll be asked for a confirmation. Click Yes.
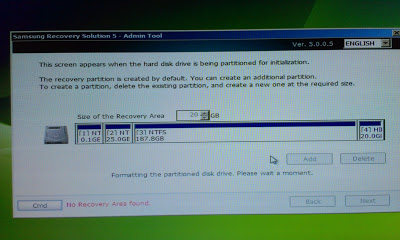
8. Now define the Size Of Recovery Area as 20 GB. And click Next.
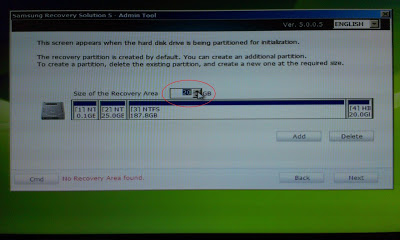
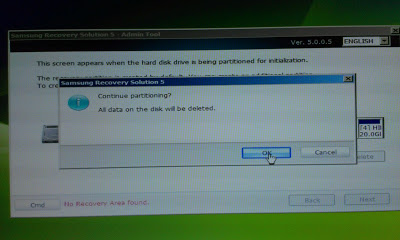
9. Now click OK. And continue partitioning.
10. Wait for some min.
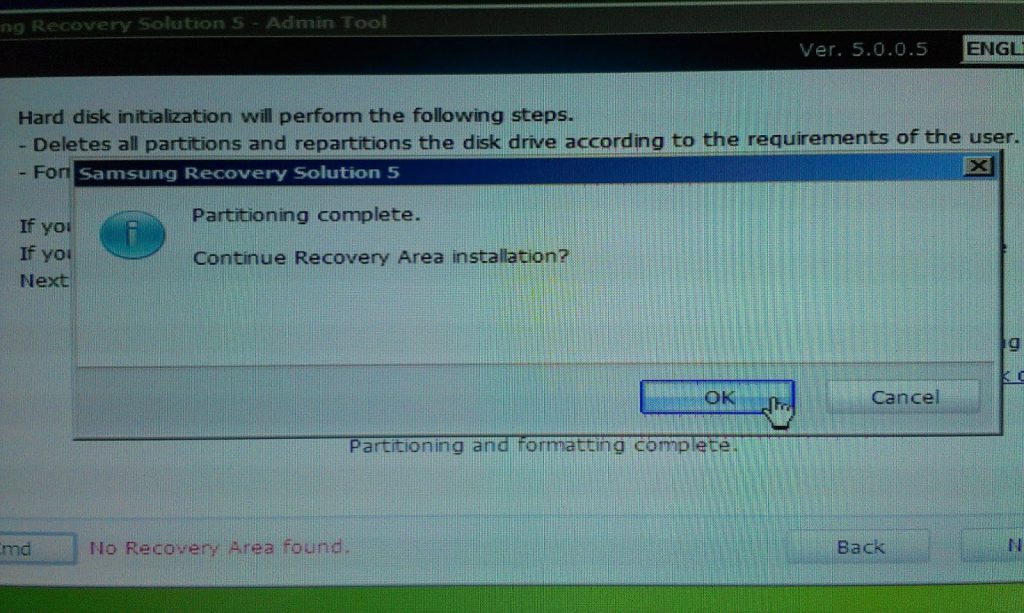
11. Partitioning Complete. Continue Recovery Area Installation… Click Ok.
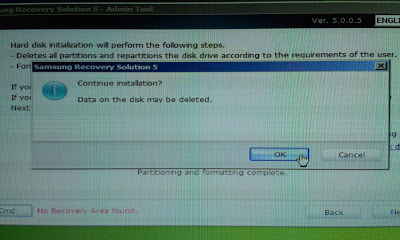
12. Now a new Window again ask for Continue Installation. Click Ok.
13. Wait for some moment. Recovery Environment will be installed.
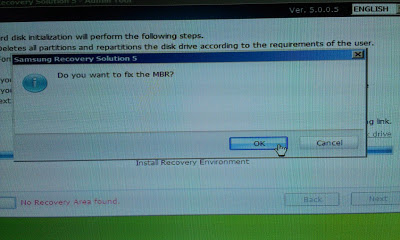
14. Now you will be asked if you want to fix the MBR. Click Ok..
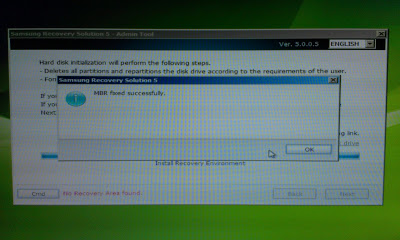
15. After MBR fix successfully completed Click Ok.
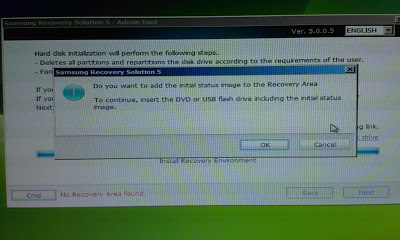
16. Now you’ll be asked to add initial status image to recovery area from USB or DVD. Click Cancel(If you have backed up any system image created with Samsung Recovery Solution in Pen Drive or DVD then insert it and click OK. This image will be restored later by pressing F4 while booting)
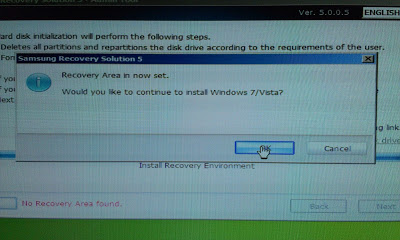
17. Recovery Area in now set. Now click Ok to continue Windows 7/8 installation.
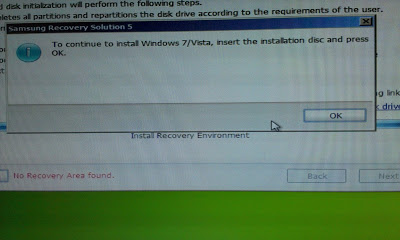
18. Insert Windows Installation Disc and Click Ok. (There is no need to change windows boot priority. System will boot automatically boot from DVD. If doesn’t boot from DVD only then change boot device priority. And one more thing… You don’t need to eject the bootable Samsung Recovery Solution Admin Tool USB)
19. Now format and install windows on your laptop. You can create partition while Windows Installation. Or do it from Computer Management after Installation complete. JUST DON’T DELETE THE OEM PARTITION, which you’ve just created.
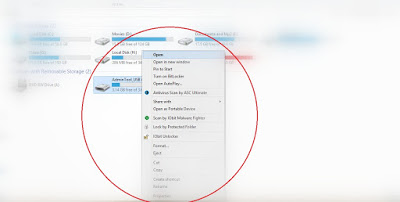
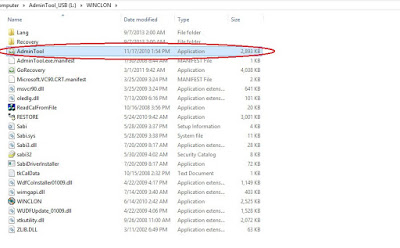
20. When your computer will start for first time after completion of Windows installation run Admin Tool application from pen drive. To do this open your pen drive(Samsung Recovery Solution Admin Tool bootable pen drive, which you’ve created). Open ‘Winclon’ folder. Click on Admin Tool application and run.
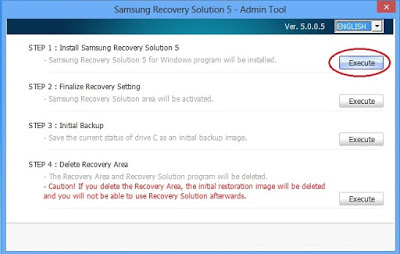
21. When the application run click on ‘Execute’ in Step 1. And Install Samsung Recovery Solution Application.
22. Restart your computer.
23. All done. Now you can back up your system. Which can be restored just by pressing F4 while booting. So install whatever you want and back up. But remember Samsung Recovery Partition is only 20 GB. So you can’t back up more than 20 GB in the OEM partition.
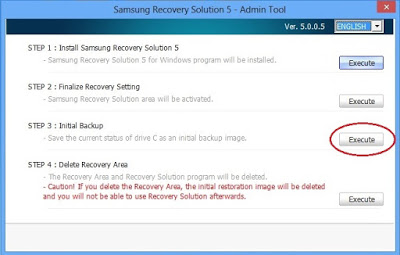
24. To back up- again run Admin Tool Application from pen drive(as I mentioned in Step 20). Click on ‘Execute’ in Step 3. Your computer will be rebooted. And back up will start automatically.
25. After completion just restart. Now you can restore your system by pressing F4 while booting.